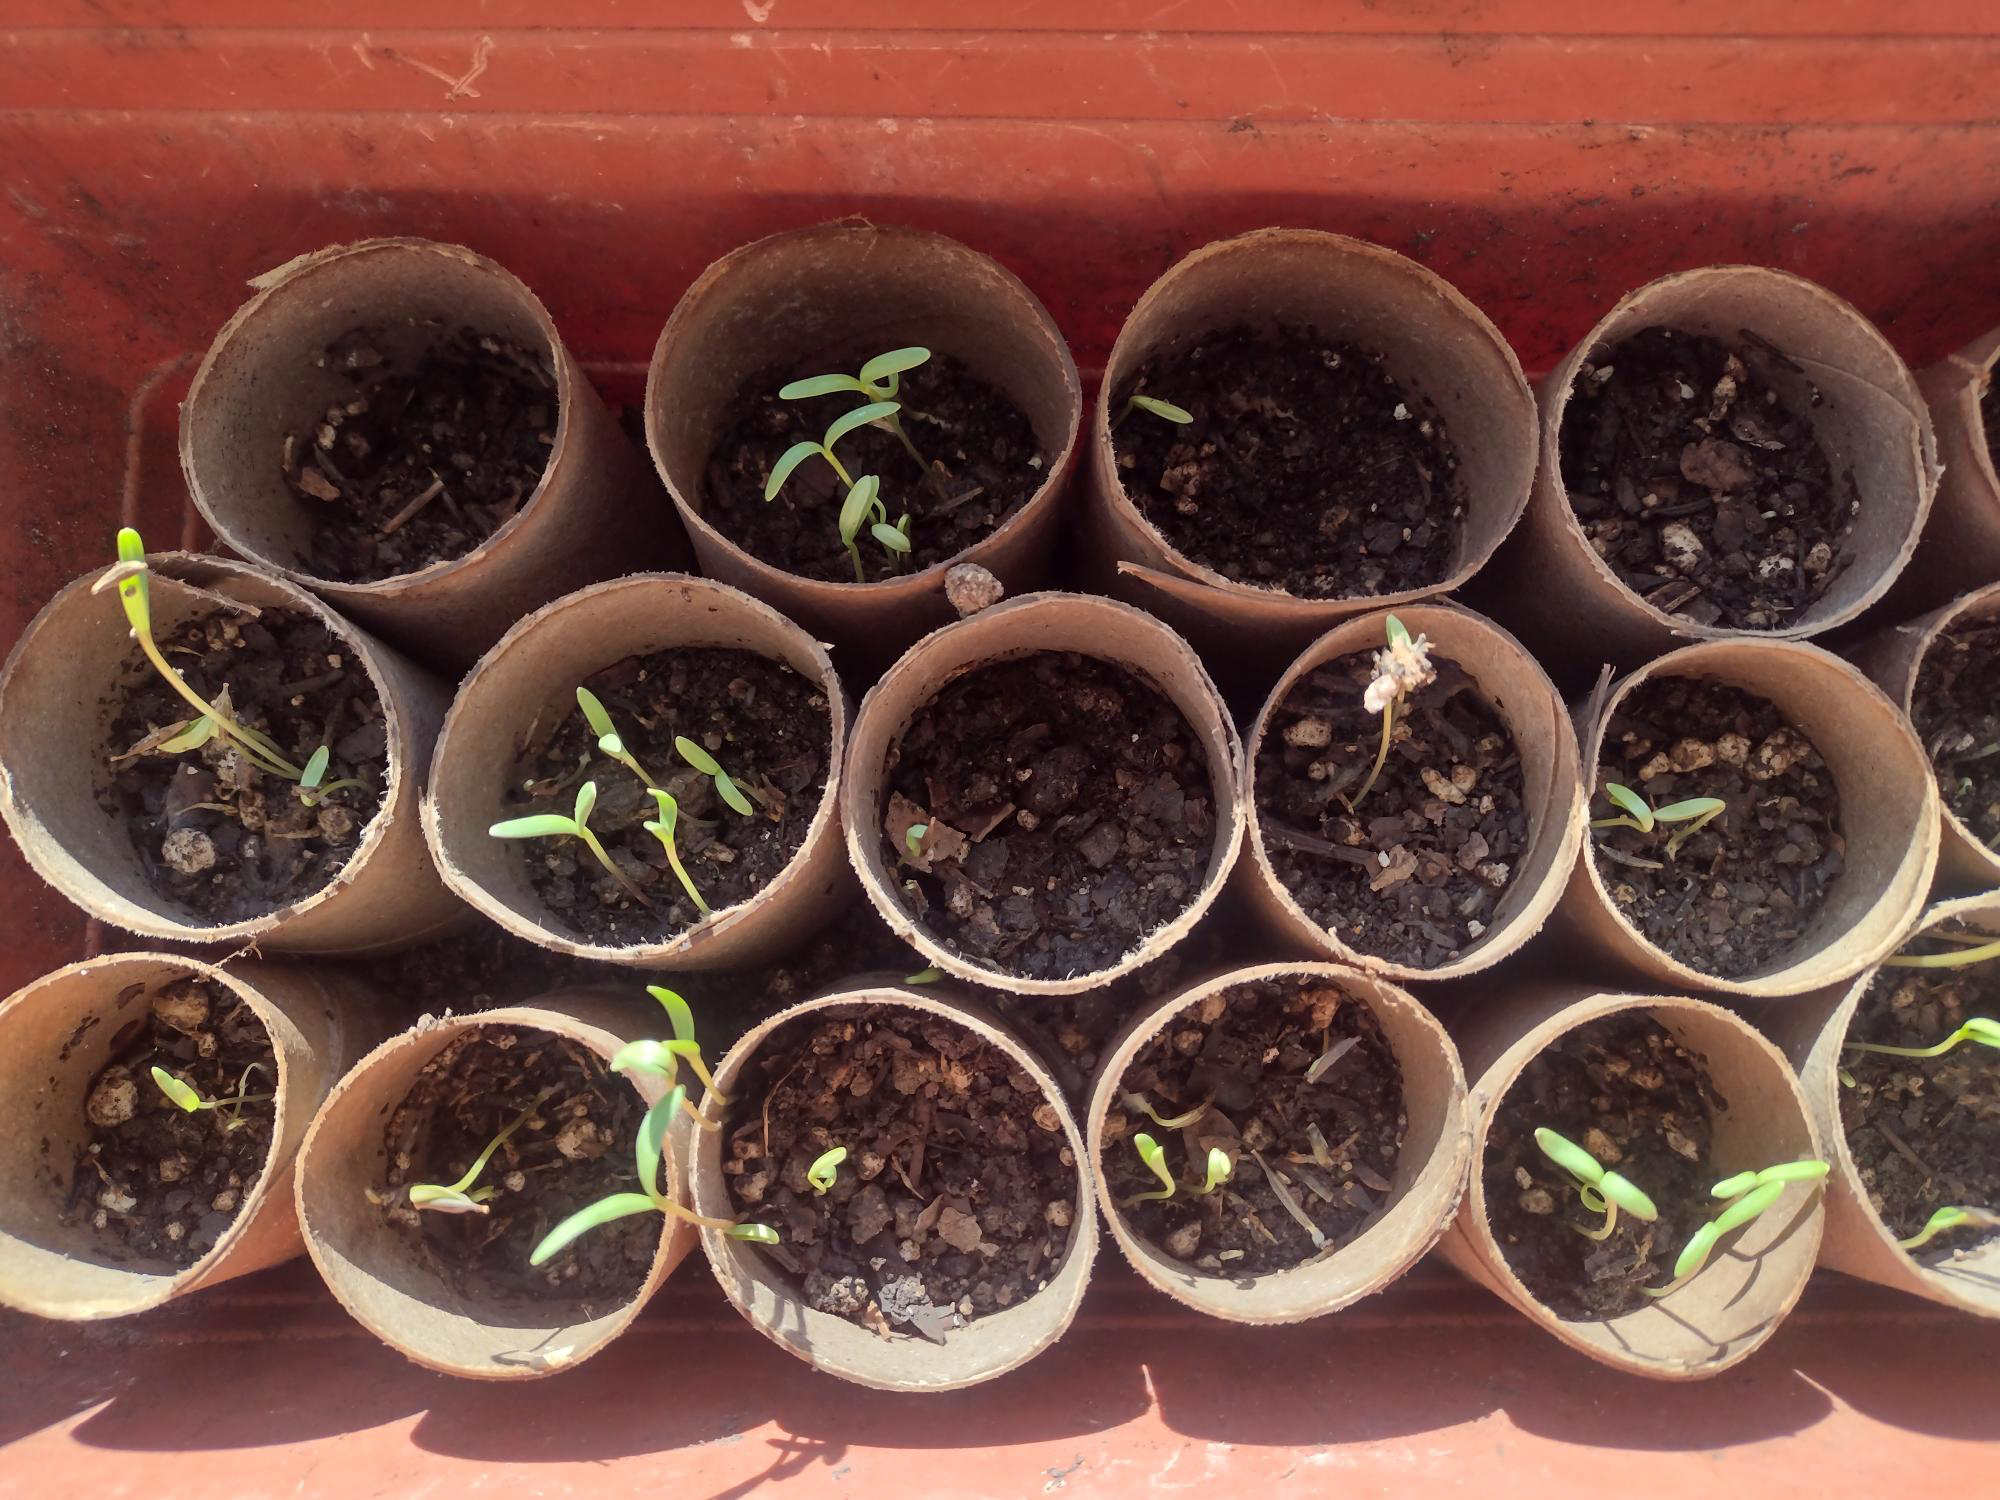
 windowsill") The Morning Glory seeds I sowed the other week, alongside the many others adorning the kitchen windowsill (above) are now on their way. I took the plastic bag off when the seeds started to germinate, made sure the compost never dried out and turned the seedlings when they were leaning towards the light. If the seedlings were left in the tray, they would quickly become overcrowded which would lead to poor growth. The first set of leaves that appear are the plant’s seed leaves which are usually different to the ones that will follow so don’t fret if you think you’ve got something else to what you sowed.
The Morning Glory seeds I sowed the other week, alongside the many others adorning the kitchen windowsill (above) are now on their way. I took the plastic bag off when the seeds started to germinate, made sure the compost never dried out and turned the seedlings when they were leaning towards the light. If the seedlings were left in the tray, they would quickly become overcrowded which would lead to poor growth. The first set of leaves that appear are the plant’s seed leaves which are usually different to the ones that will follow so don’t fret if you think you’ve got something else to what you sowed.
The seedlings are now ready to to be “pricked out and potted on” one to a pot or a few to a larger seed tray. Before potting on I watered the seedlings in the tray and let it drain on the side.
I bought a big bag of (peat free) multi-purpose compost from the local garden centre and re-used pots that I’ve had for years which you can get for next to nothing especially the plastic ones (terracotta ones are a bit more harder to find). Have a look out for them in skips and beside dustbins in the summer months after people have visited the garden centre on their plant binges and are chucking them out. It’s good practice to give them a good clean and rinse before re-using to prevent disease.
 The first thing I did before filling my pots was to place a piece of broken crock or porous stone (small pieces of broken terracotta plant pots are ideal) over the top of the drainage holes. Then I filled it with the compost and lightly firmed it down. Give the pot a water if the compost isn’t moist already and drain it off. Make a small hole in the centre with your finger where the seedling will go. If the compost was kept outside in the cold the night before, make sure it’s well thawed out before using.
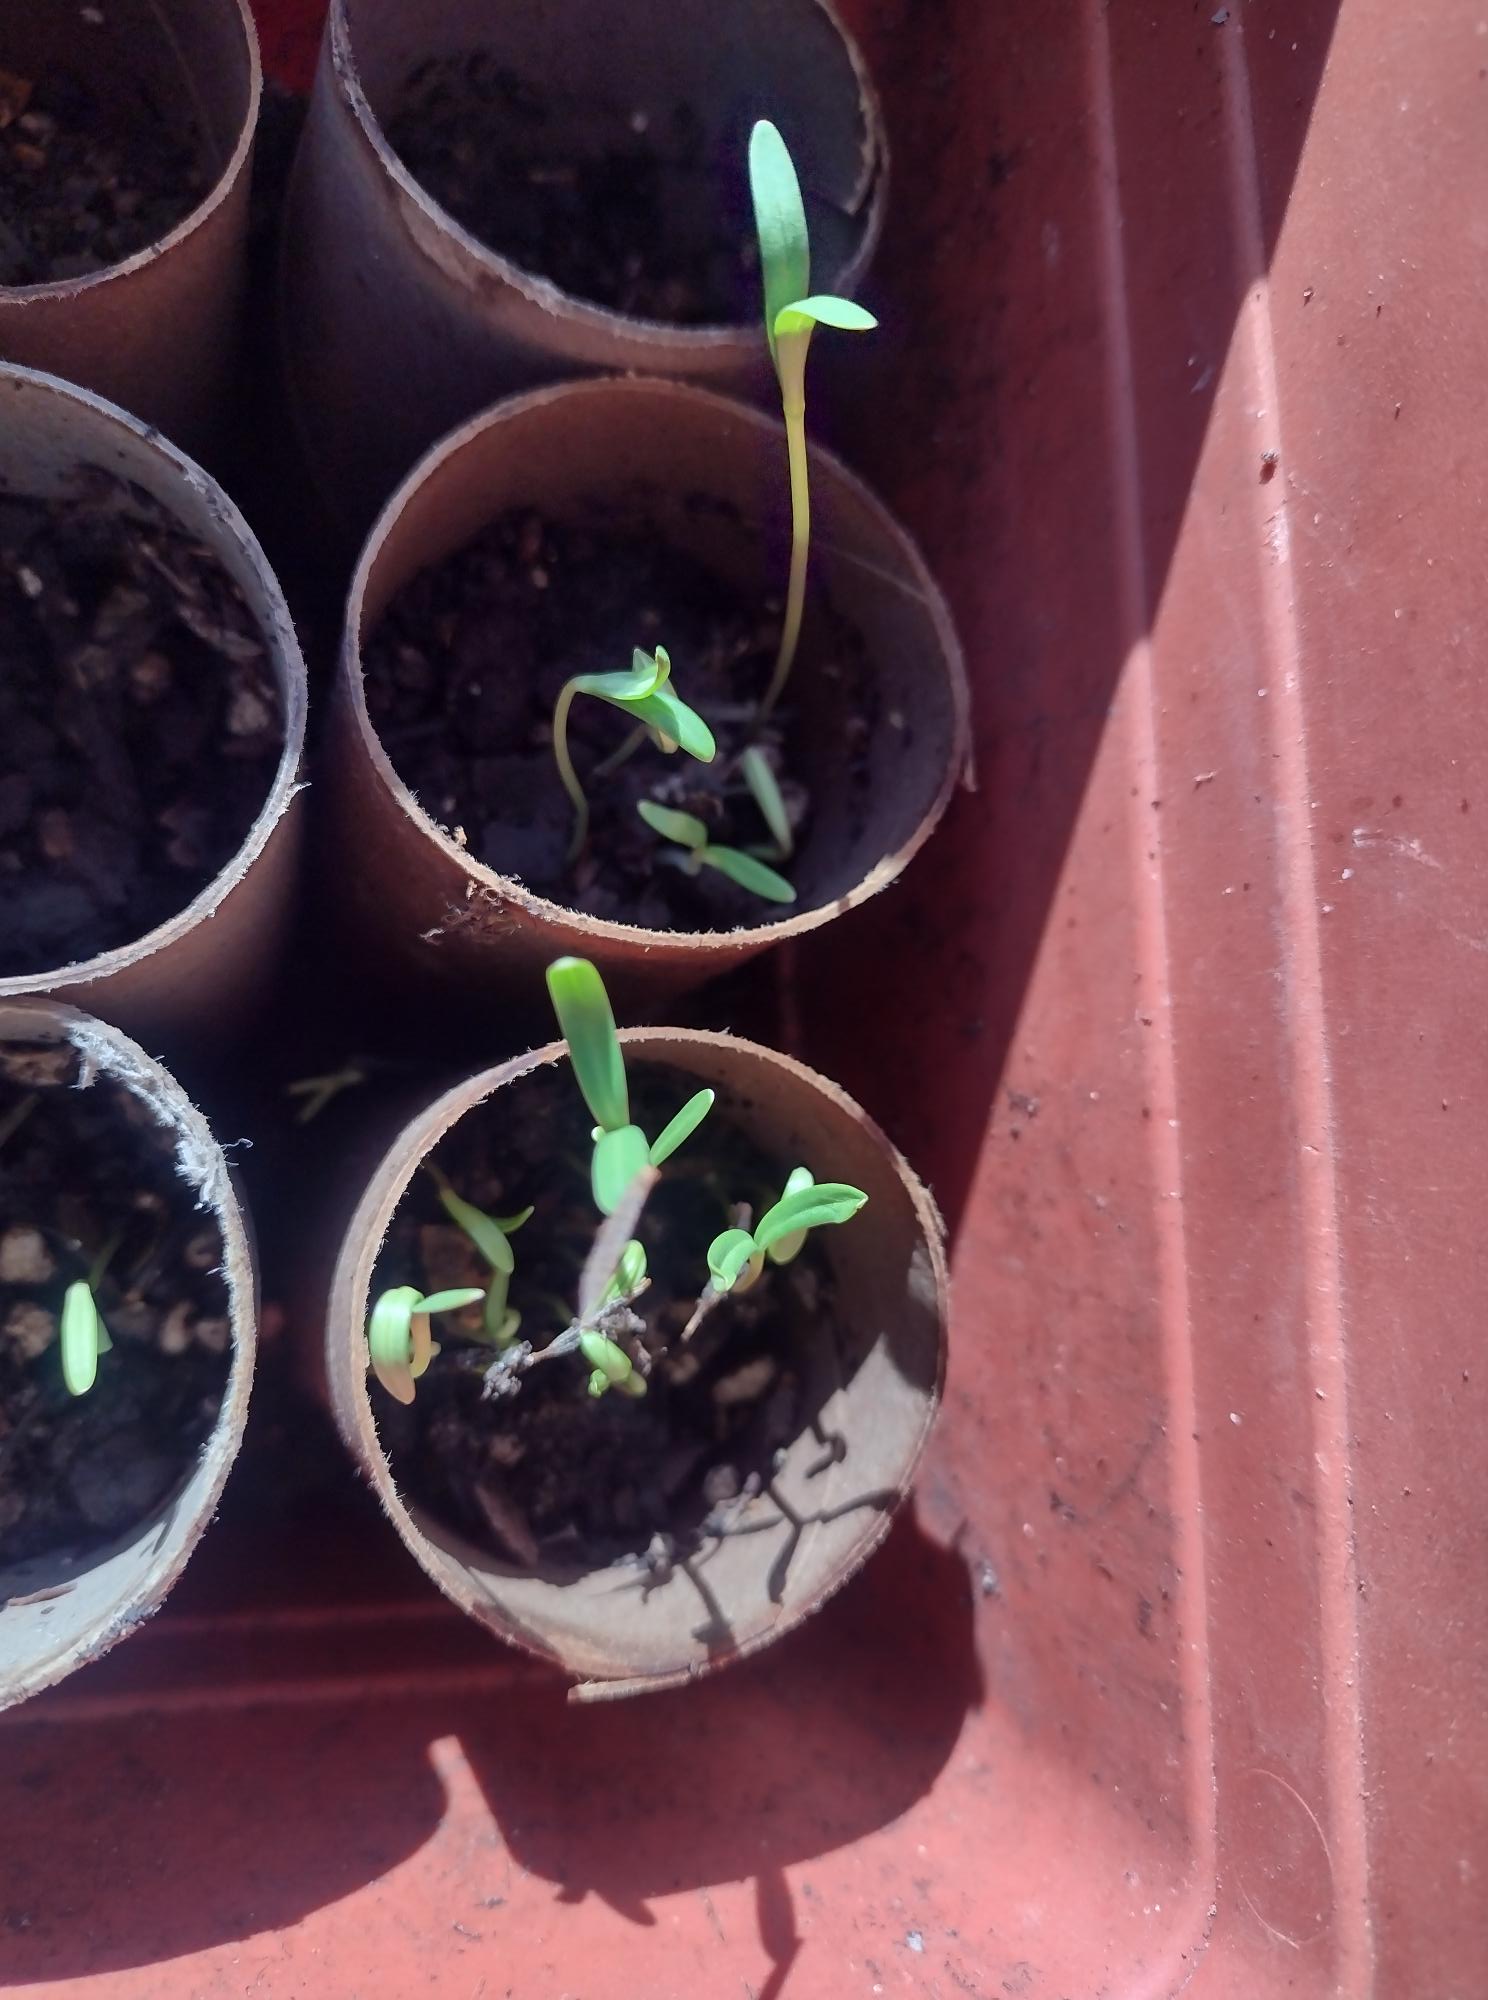
 Using a dibber, old ball-point pen, teaspoon or in my case a seed label, separate the seedling from the tray, taking care to leave a ball of compost around the root (the lesser disturbance to the roots the better). Gently remove it, holding it by the leaves rather than the stem which is sensitive to bruising which will leave the seedling open to diseases. Transfer the seedling to the prepared pot and gently firm the compost around it making sure the level of compost to the stem is the same as where it was in the tray. Give the pot a wipe around the sides and put in a plant label with name and date (if you are anal like myself!)
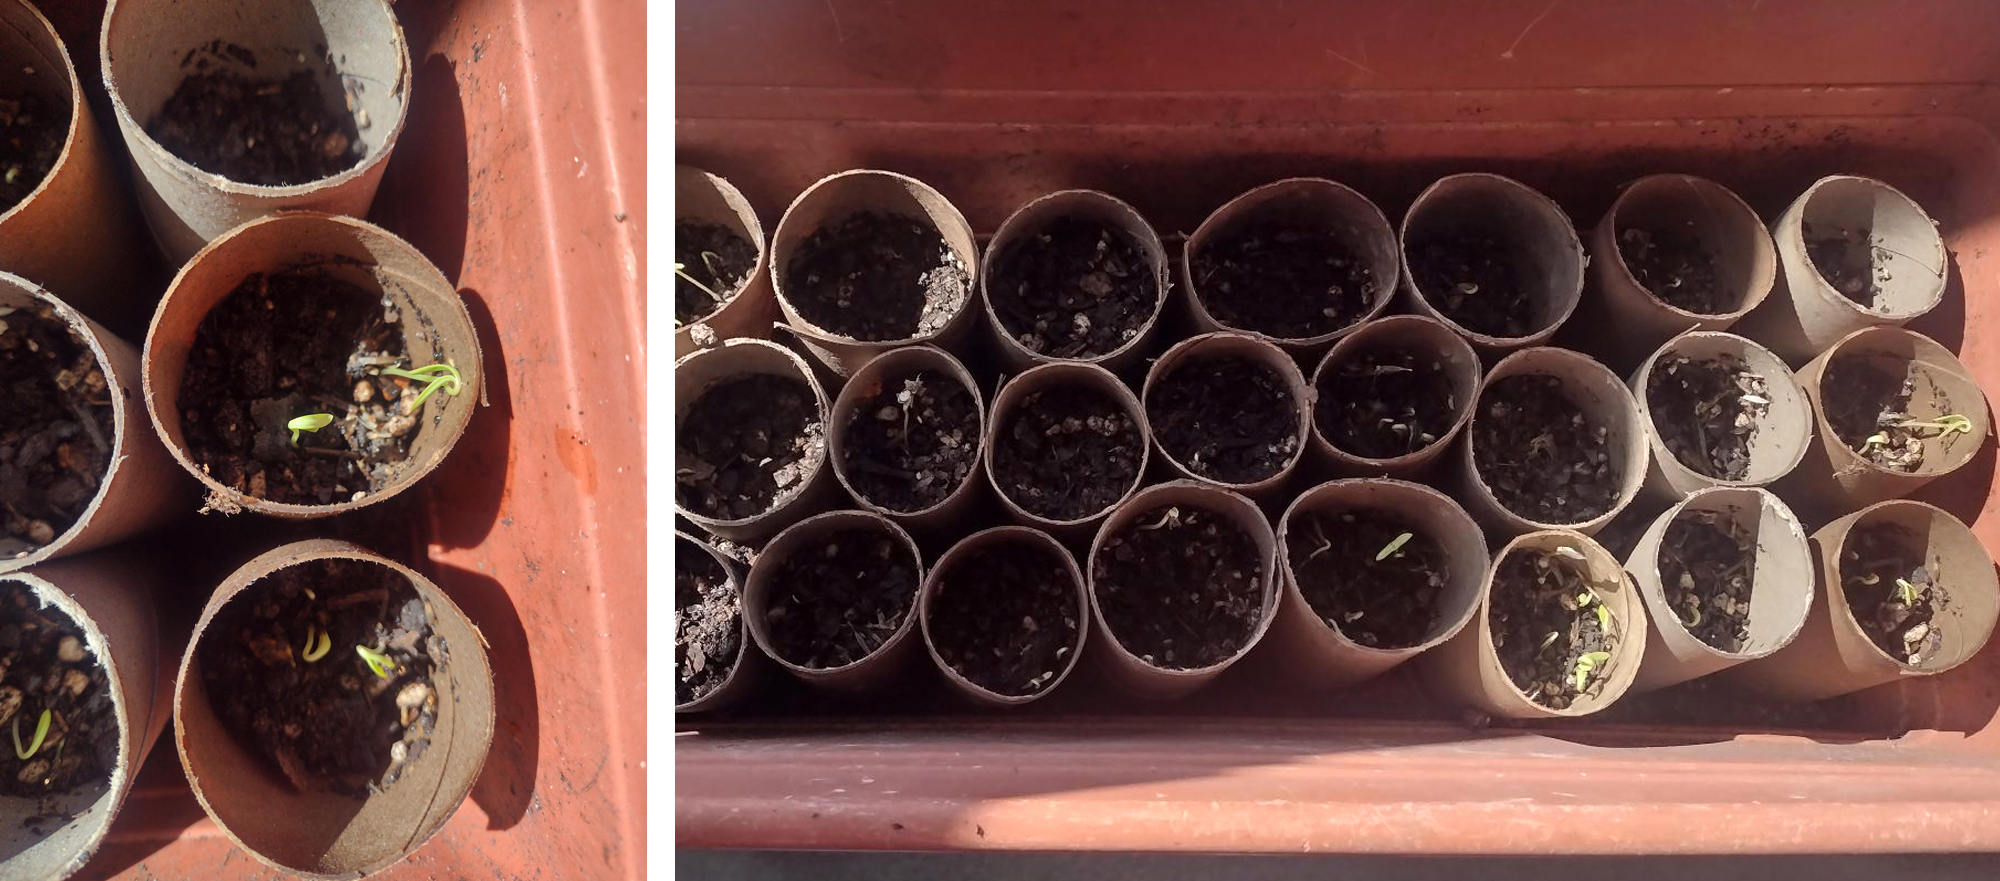
 Now place the pot somewhere indoors with lots of light like the kitchen windowsill. Check the pot daily making sure the compost is just moist and water from below when it looks and feels dry. Keep turning the pot if the seedling is edging its way towards the light as you don’t want the seedlings to get leggy. Depending on the size of the pot, the plant may need to be moved again if there’s vigorous growth.
Next post concerning the seedlings will be in a few weeks time about “hardened off” the plant to the outside weather as they are getting the good life indoors at the moment. Pot on my friend!
Cost of the post
Plant pots/trays: Free, found over the years and re-using pots that contained plants bought from the garden centre or been given off mates.
Bag of peat free multi-purpose compost: Around £4 from the local garden centre which will last you a long while.
Plant label: 99p inc free postage for a pack of 10 off e-bay.

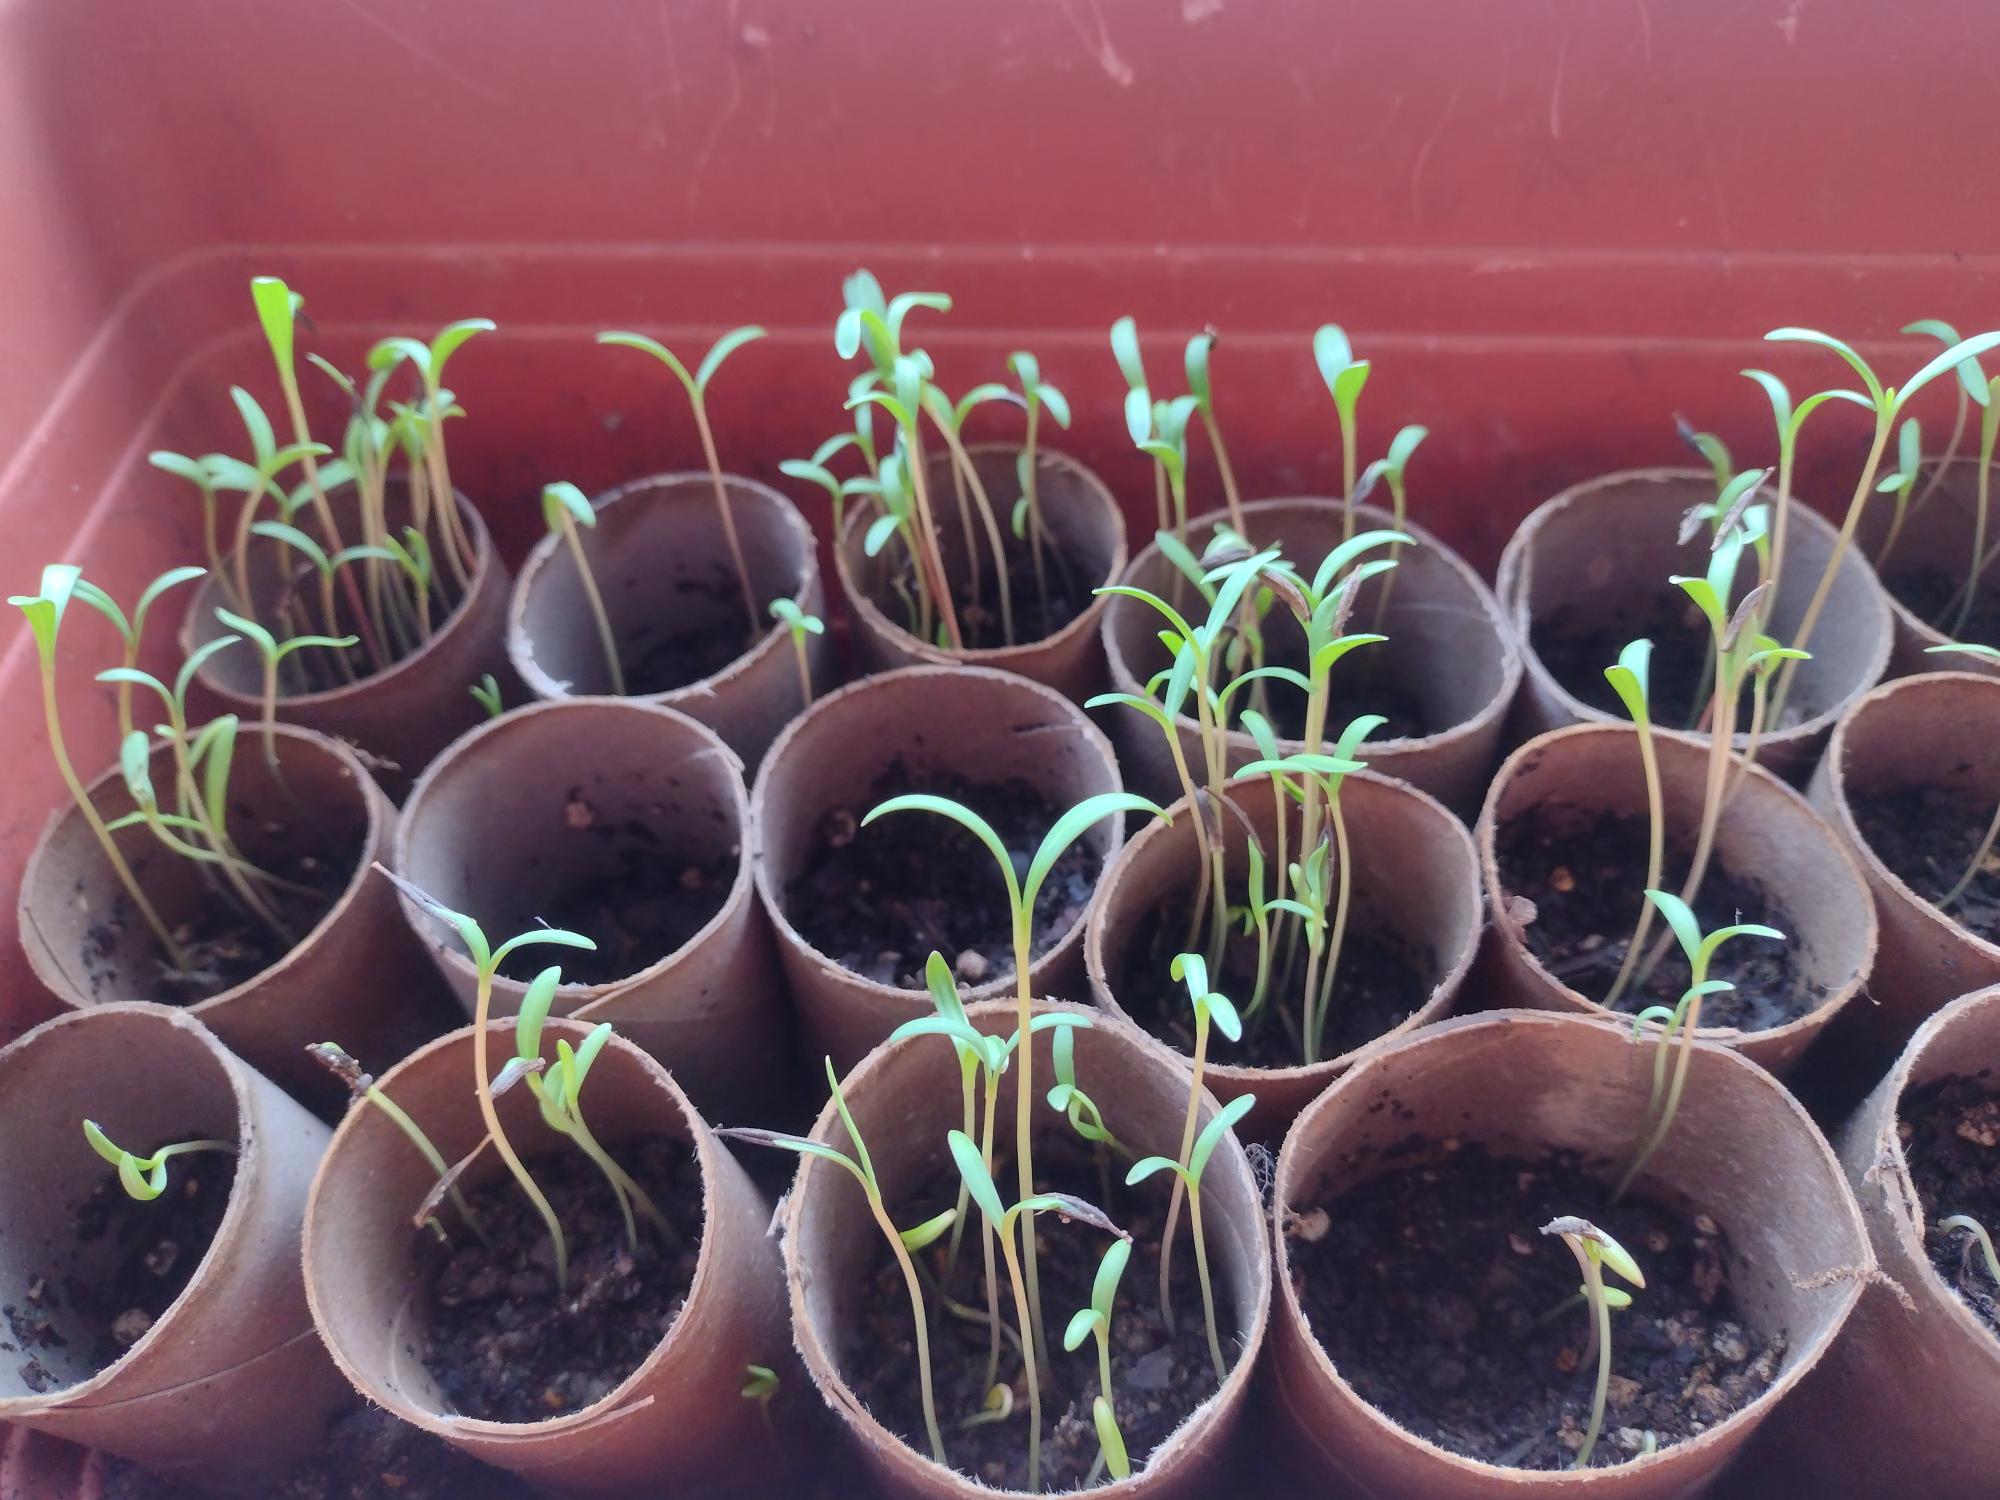
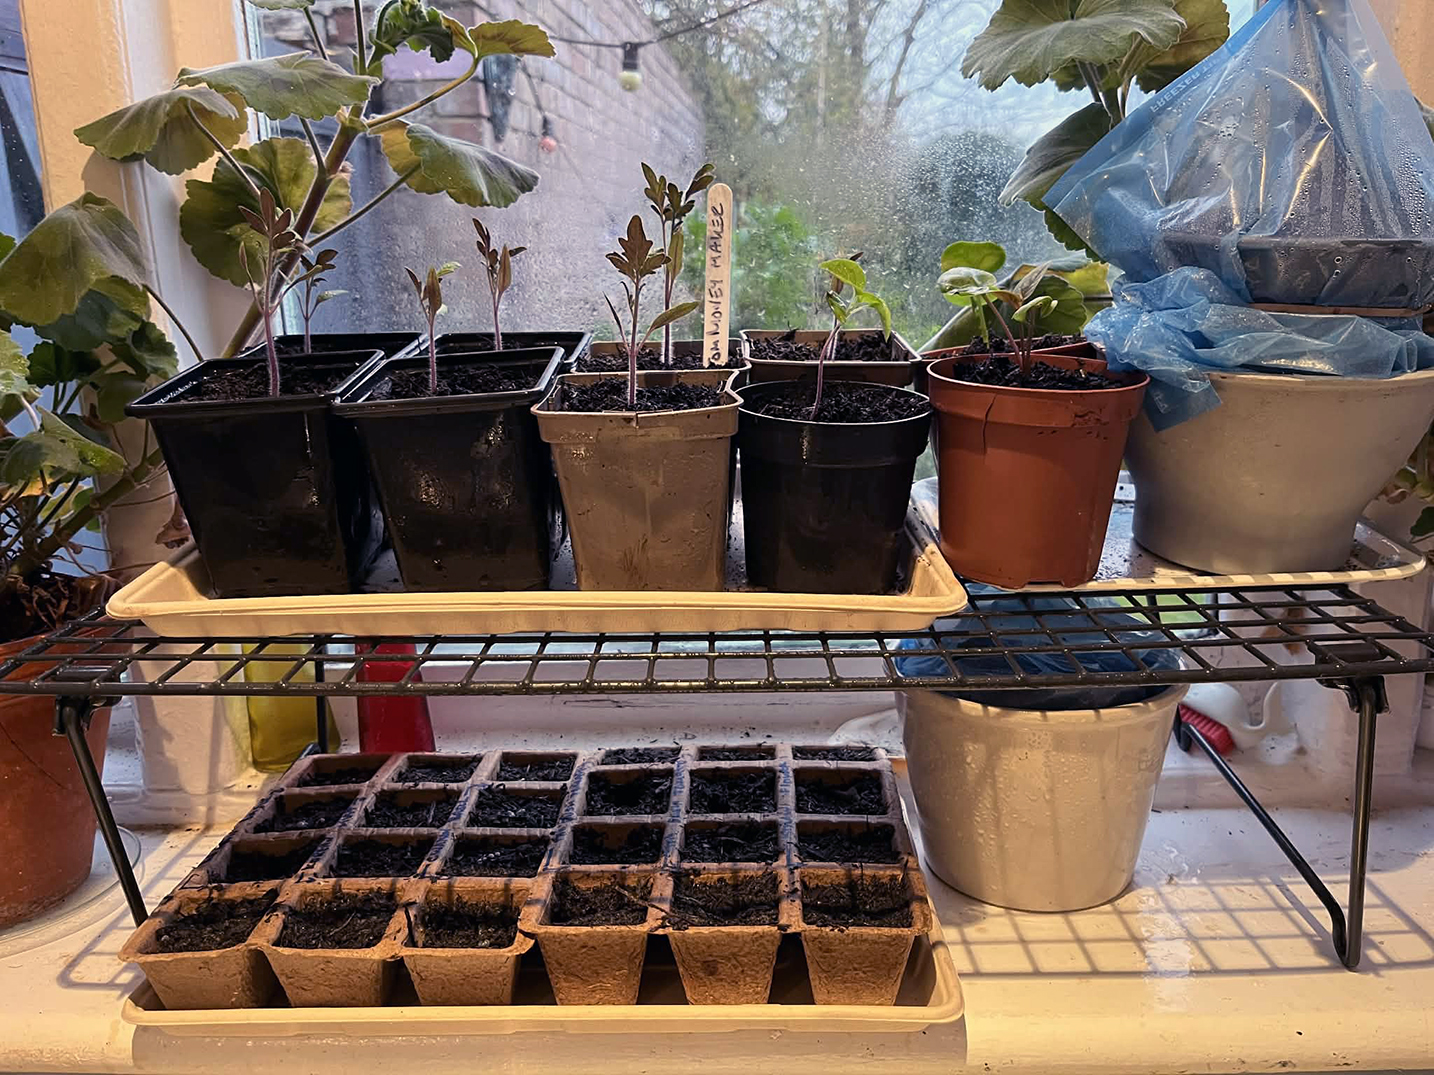 The other day we saw a great space saving device on Facebook; someone had put their seed trays on a shoe rack. Unfortunately, we haven’t got a shoe rack on hand, and the kitchen window is well full. We found this rack thing in the street a few months ago knowing it will come in handy soon, and it did! It’s holding up some Moneymaker tomatoes and some marvel of Peru seedlings. Below are a few different varieties of basil which we sowed today.
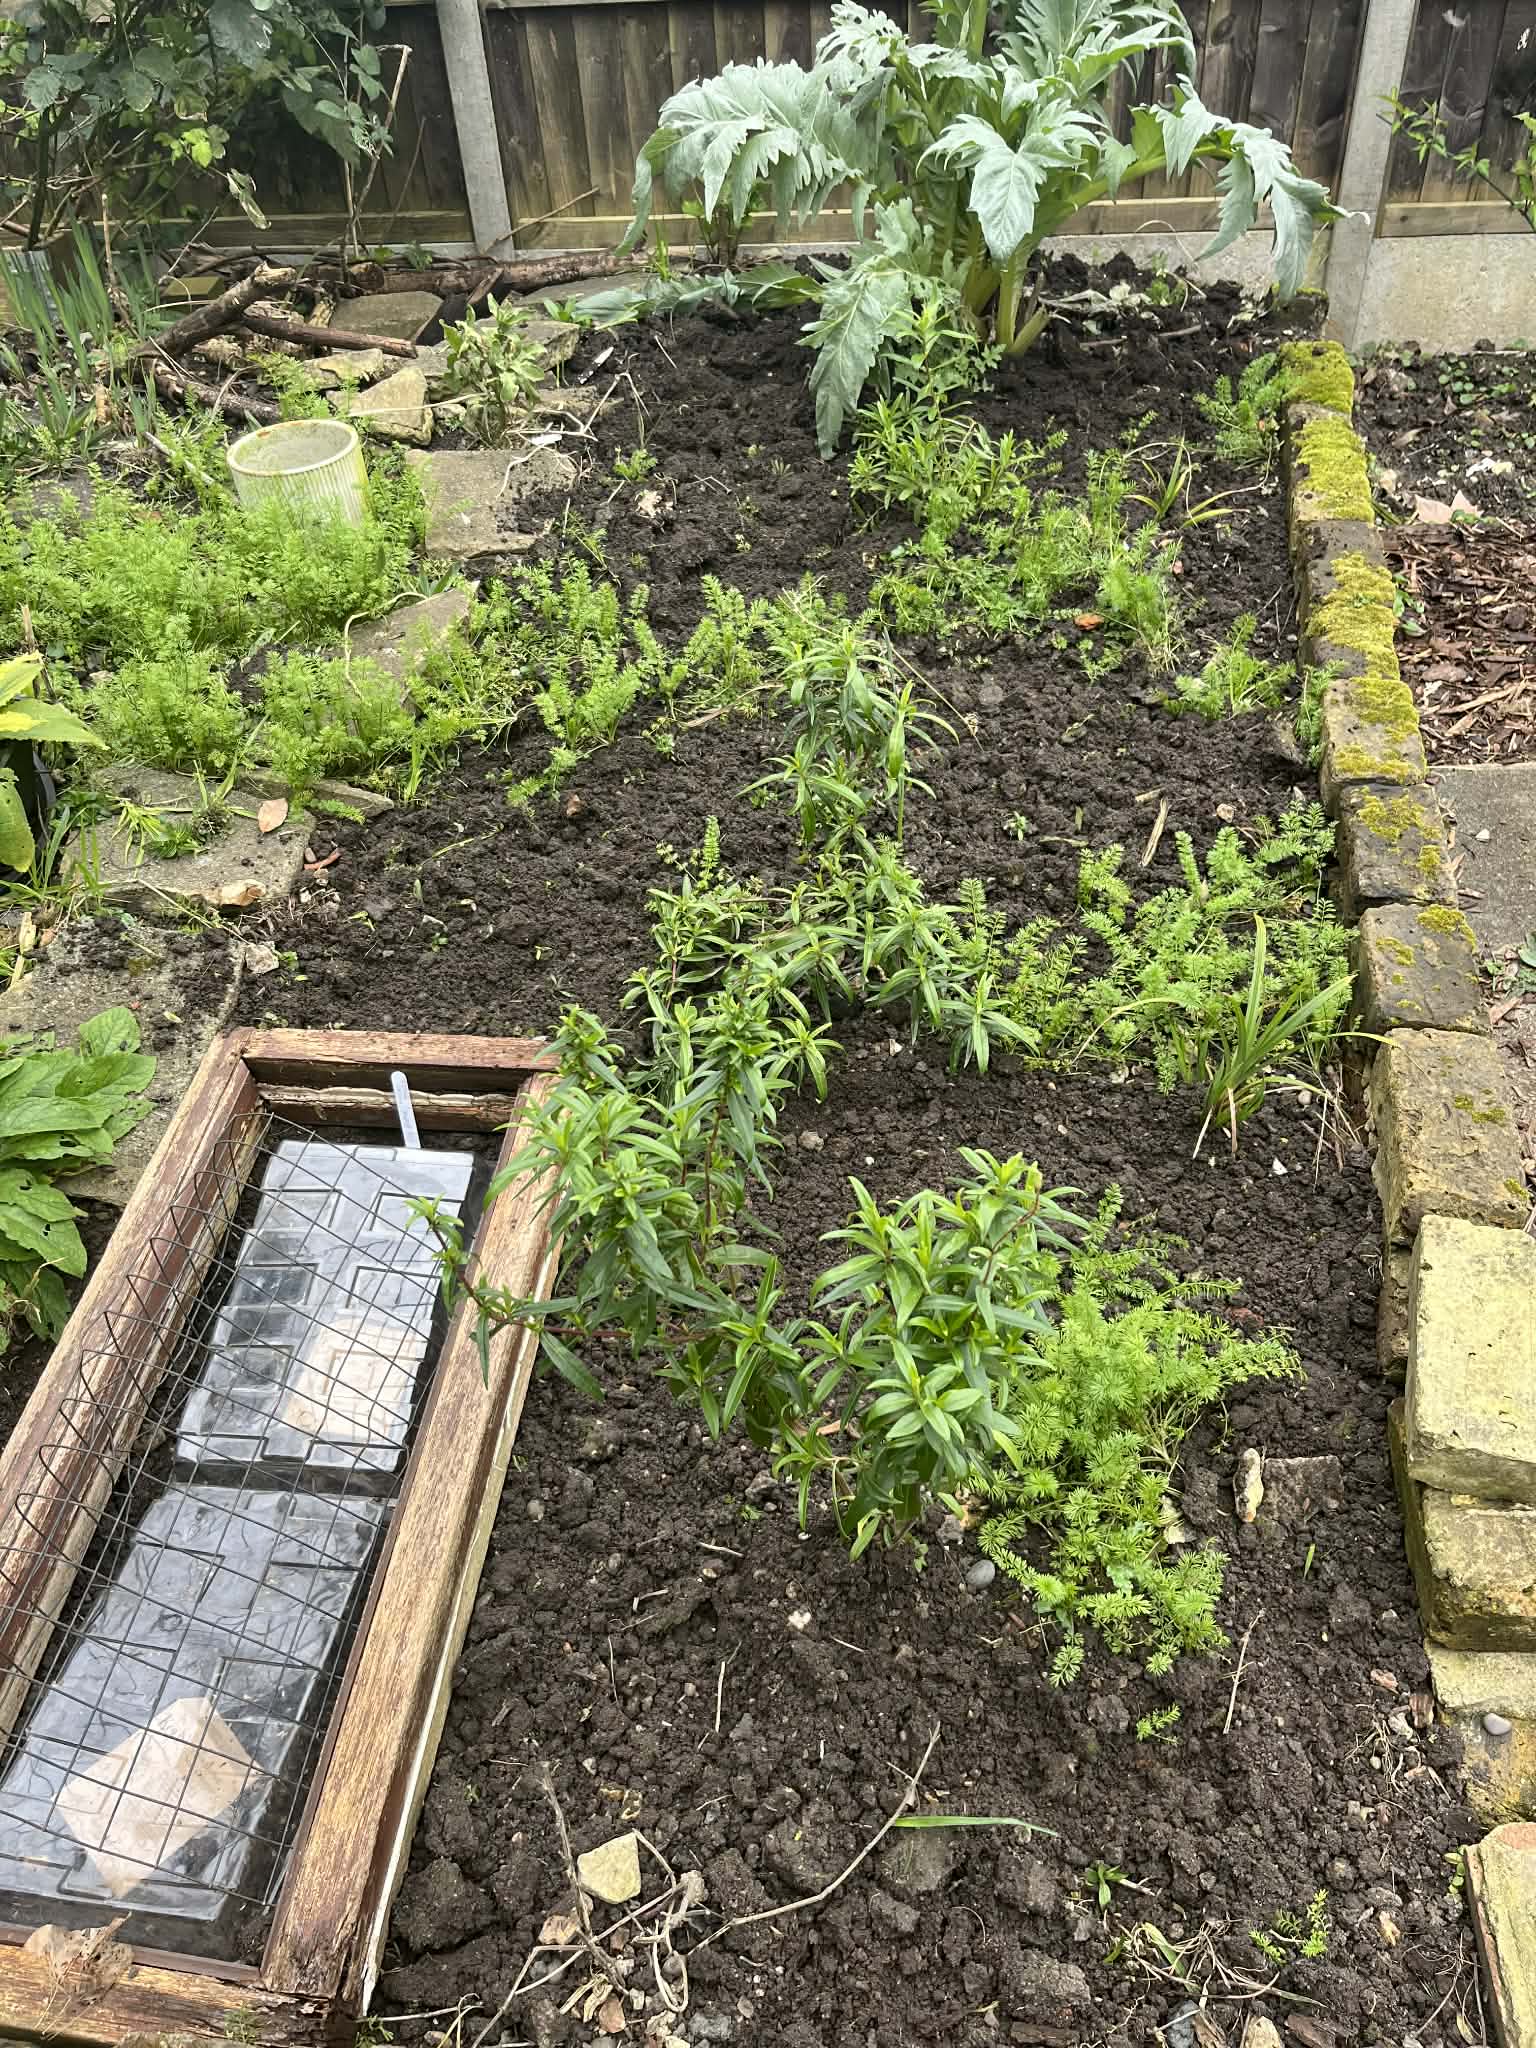 We’re trying to find time to tidy up the wild bit and going to fill the now weed-free area around the penstemons and love-in-a-mist with some wildflower seeds. The window frame that once had glass in it is now used to shield some plastic seed covers so they don’t blow away. Waste not, want not, part 33!
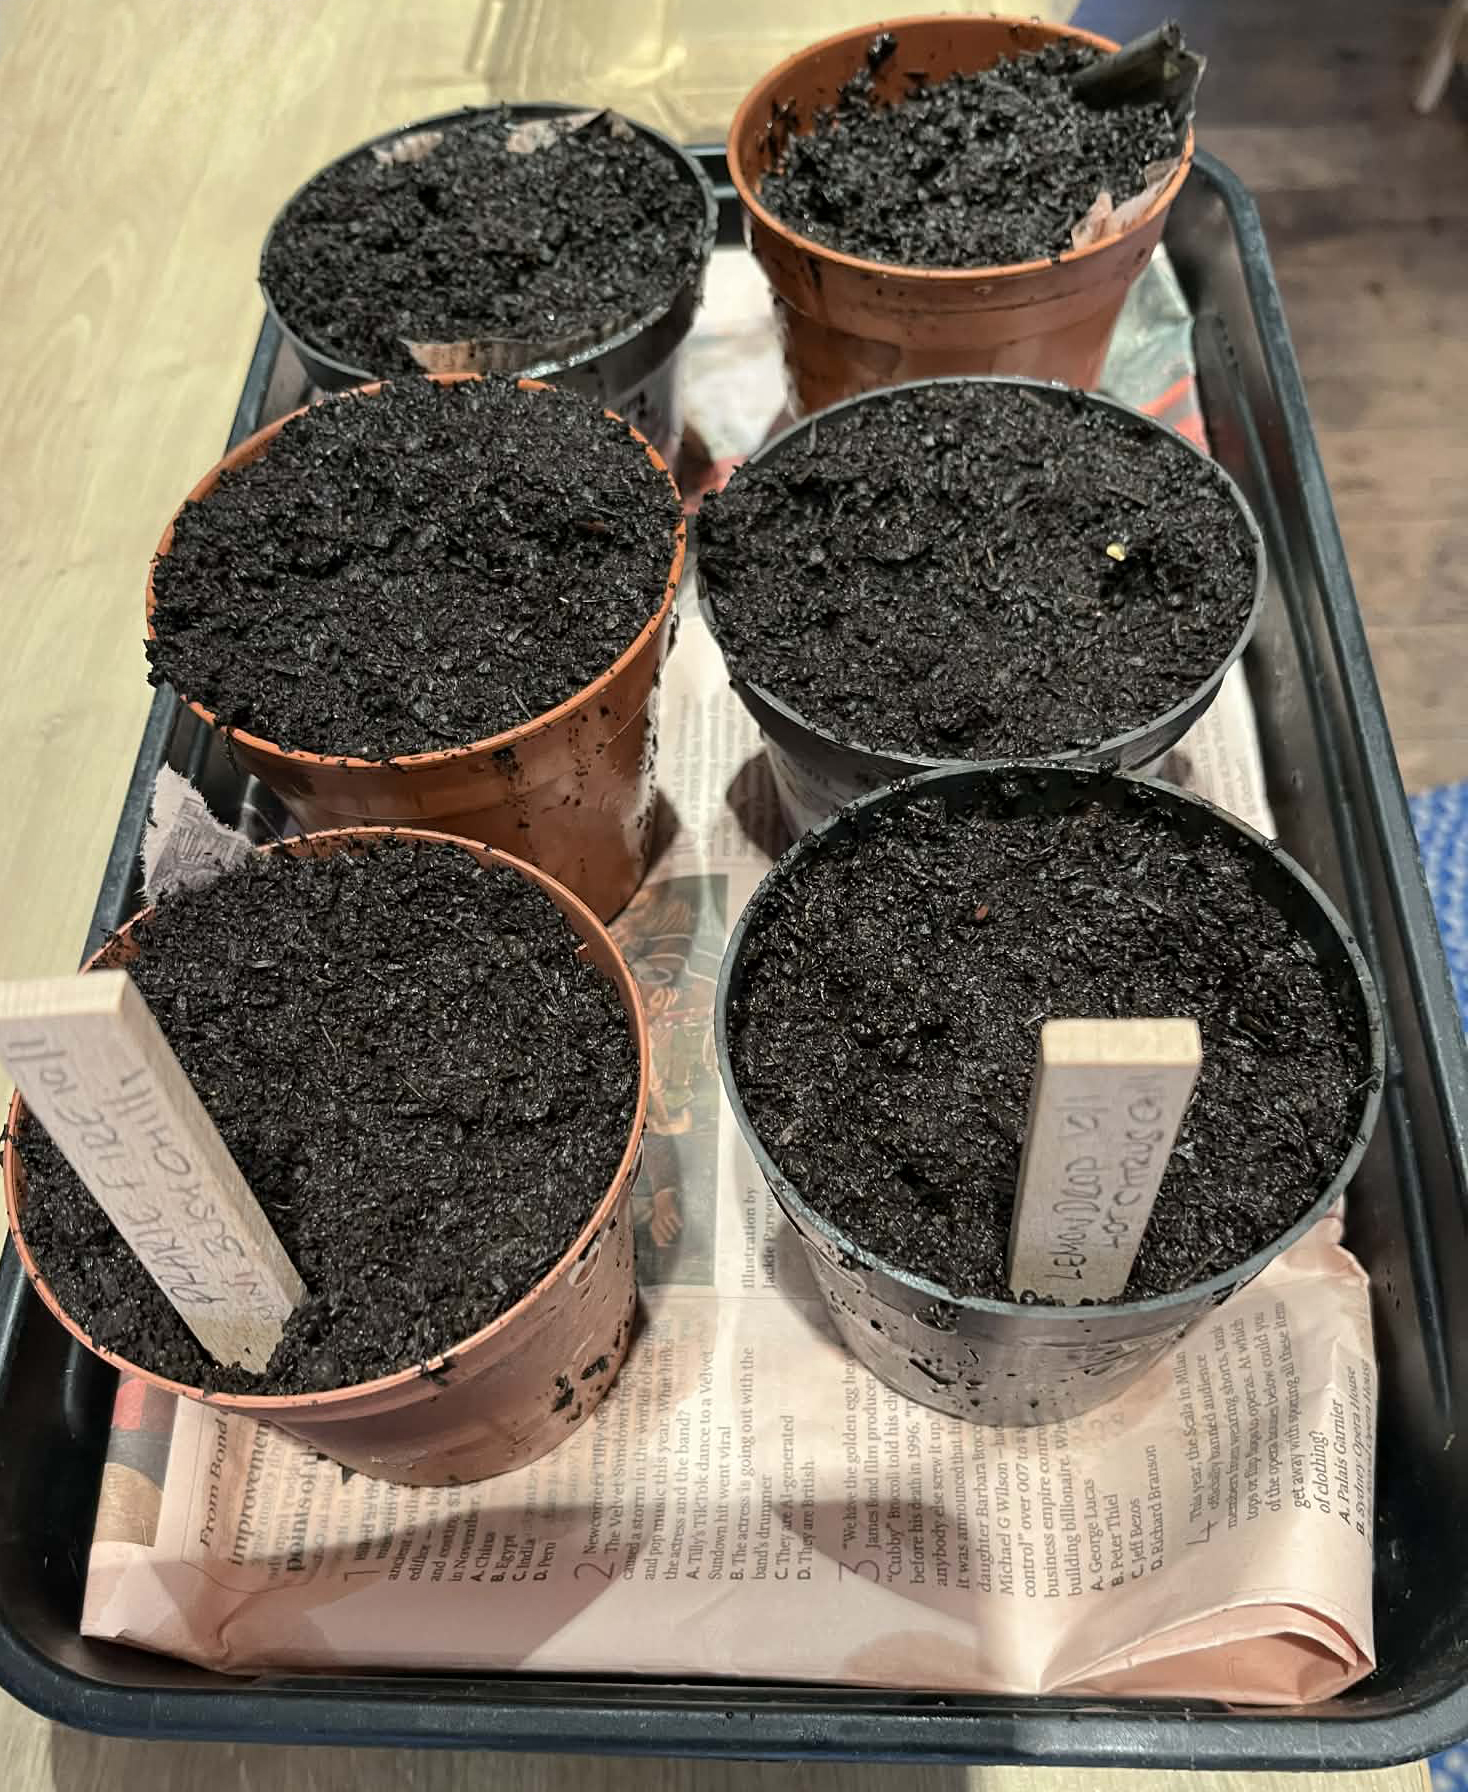
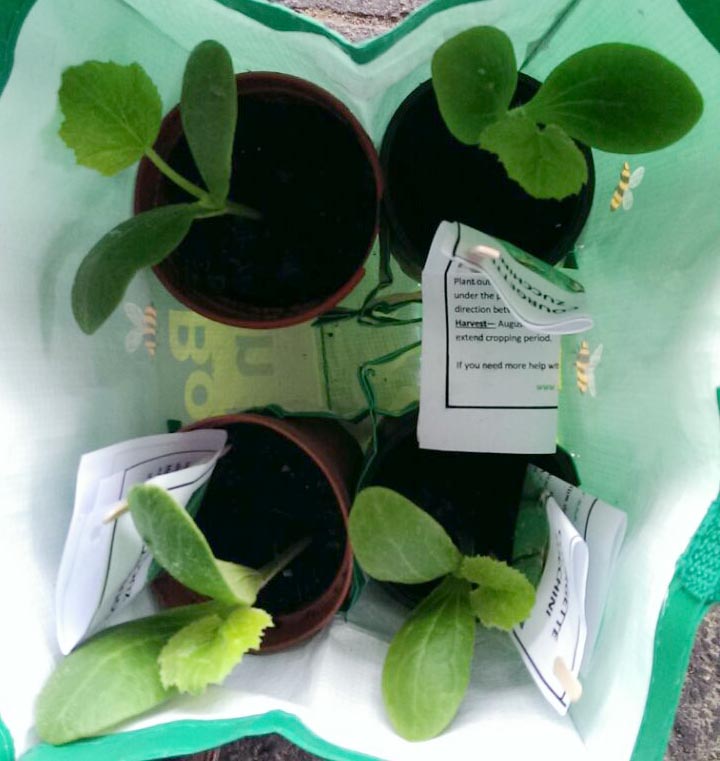
 Where has that sun gone to, the one that appeared here the weekend and the same one that contributed to Sunday being 17°C? You will laugh, as over the weekend we even put some plants out in the back garden to harden off. It’s only March and we’re thinking about hardening off plants, we must be crazy. The above pic is a of self-seeded tomato in front of some suncream, after sun and insect repellent, a taste of things to come you reckon?
 Don’t think buying in tomato plants is in any way cheating. Earlier this year we sowed a few tomato seeds that failed miserably so we bought a couple of varieties from

 windowsill")
